Category Archives: Terrain

Fast Fence Tutorial

We use tons of fence sections for our tables, but they are expensive to buy and pretty tedious to make. After some thought I’ve hit on a pretty quick and inexpensive way to build as many as you need.

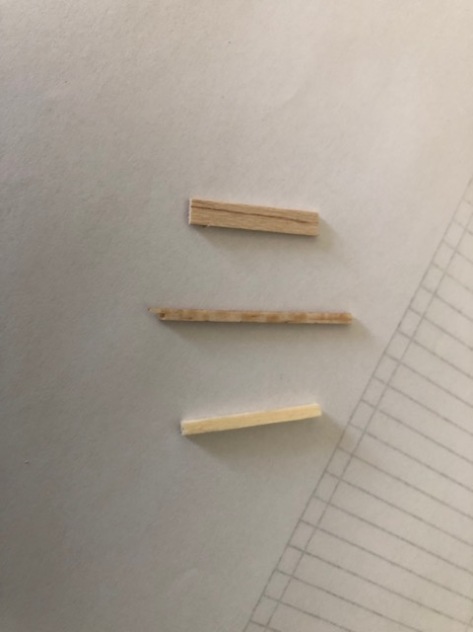
What you’ll need- I make mine out of balsa wood, though styrene sticks would also work.  For this demonstration I’ve used 1/16 by 3/16 for the fence planks and 1/16 by 3/32 (1mm by 2mm) for the cross bar pieces. The vertical posts are 1/8 by 1/8. You could certainly use other sizes/dimensions, whatever looks appropriate to your eye. These are intended for 28mm figures.

.IMG_2808

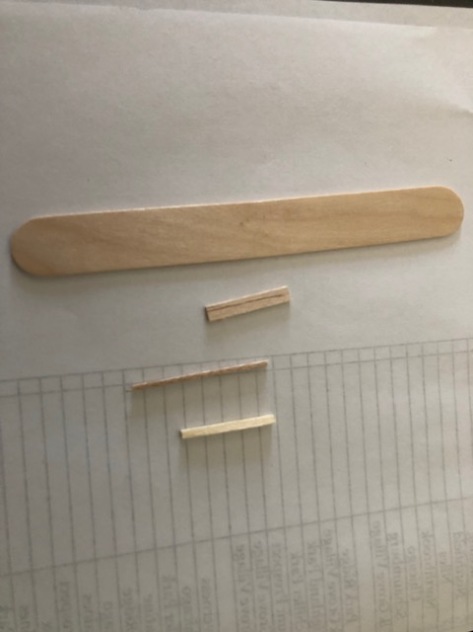
For the base the fence will be sitting on I used these tongue depressor type pieces bought from Hobby Lobby. It’s important to use all one type of material, as wood fence pieces will bind to a wood base much faster than they would to a plastic (or whatever) base. I also use Elmer’s wood glue as opposed to plain white glue, as it provides a much stronger bond.

IMG_2809

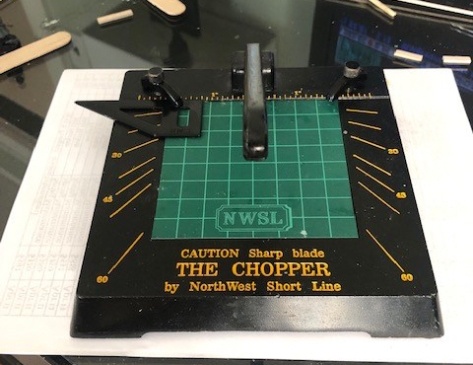
If you do any scratch building at all you would be doing yourself an enormous favor by picking one of these up. You can quickly cut balsa wood, styrene strips, etc. with lightning speed and by using the adjustable metal stop shown on the upper left every piece will be precisely the same size as every other size. I got mine online a few years ago for about $35 if I remember correctly. Aside from an airbrush this is the most handy hobby related tool I’ve ever used.


IMG_2811

First, cutting all of the planks-

Next step is taping two 36 inch strips of the cross bar down to the glass table top. Glass is ideal for this, as any glue that overflows from the wood won’t stick as much as other surfaces would.

IMG_2816

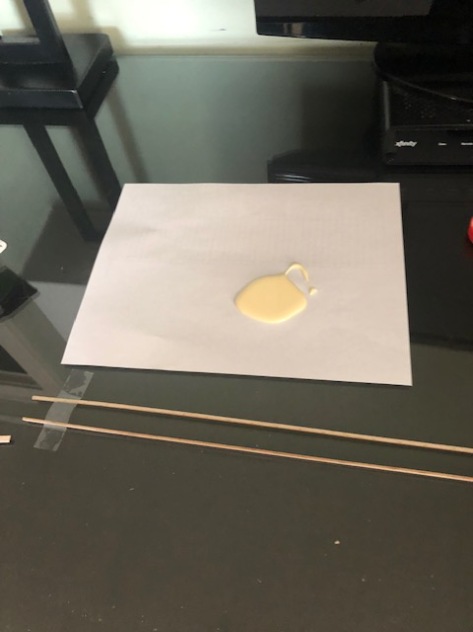
Apply glue to the cross pieces and then start applying planks. With wood glue, it’s not a good idea to go out more than 10-12 inches at at time as the glue will start to dry too soon.

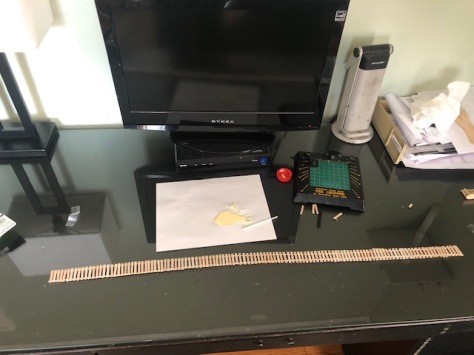
After several minutes, you end up with 3 feet of this.

IMG_2819

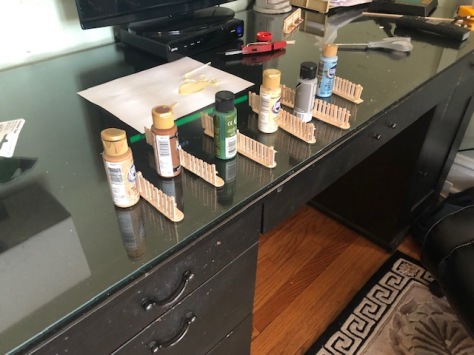
Cut into sections appropriate for the base size, and then glue 3 vertical posts to each section.

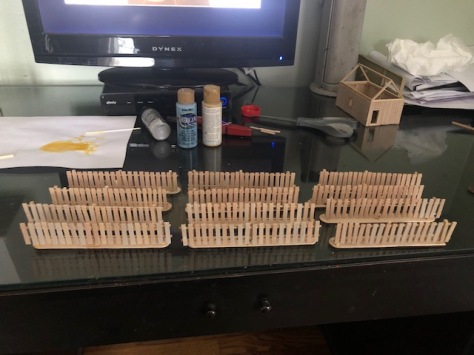
Glue the posts to the base and you are done. Once the glue sets up, these sections are very sturdy.

IMG_2823

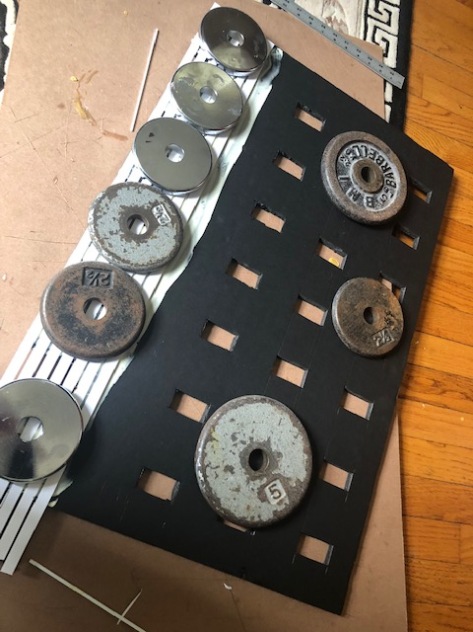
Although these are ready for painting and flocking, I like to add an extra step. As these are pretty lightweight, I add pennies to the base for heft. We play our games on teddy bear fur mats, and the extra weight helps keep them upright

The above took me about 20-25 minutes, and is easy to do while you’re just sitting there watching TV or listening to music.

IMG_2826

Six feet of fence in about 45 minutes at a cost of about 5-6 dollars, or approximately $1 a foot. I’ve seen commercially available wood fences going for $1 an inch, so essentially investing an hour of time can save you $50 or more.


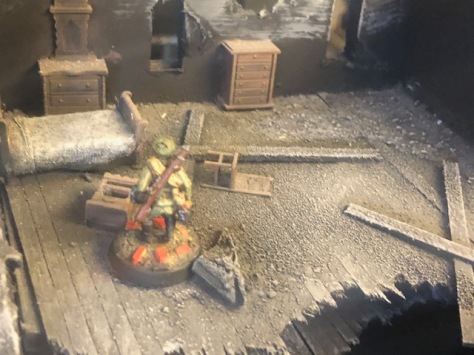
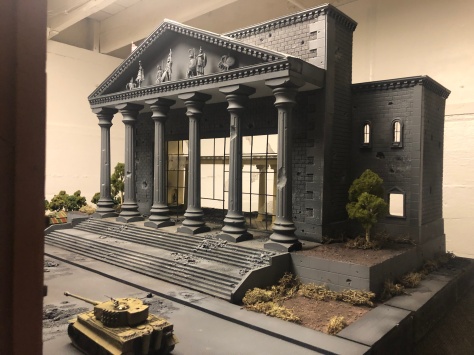
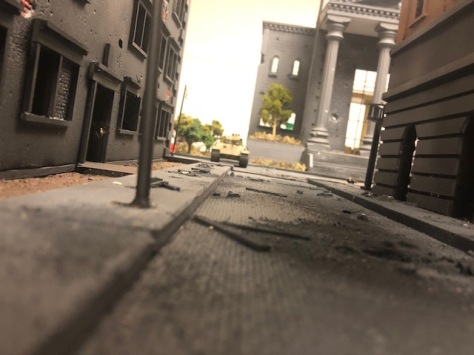
Ready for the Battlefield!

Chain of Command Berlin ’45 Smackdown part 2

Friday night sees a resumption of the Russian attack towards the fortified government building on the western edge of the board.

IMG_3361

The Germans have lost two jump off points and due to loss of morale are down to three command dice. Things are looking dire for the Hitlerites.

IMG_2548

Will the Tiger be able to stem the Soviet advance?

IMG_2557

Steve decides to attempt a close assault on Dan’s Russian squad on the north edge of the board as it’s vital the Germans protect their last jump off point. If the Germans can’t halt the attack here their entire position in the sector may become untenable.

IMG_2553

The Volksgrenadier squad launches grenades and then moves in to close assault the Russians.

IMG_2555
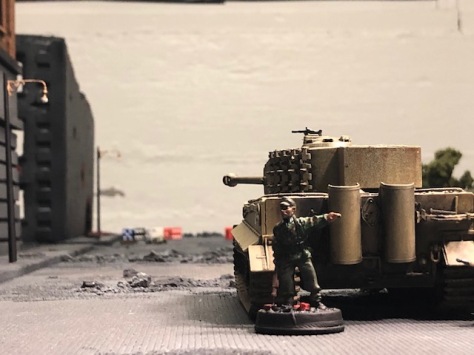
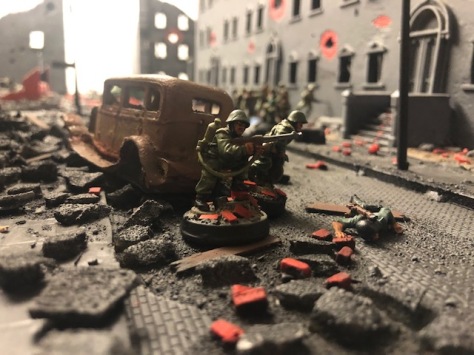
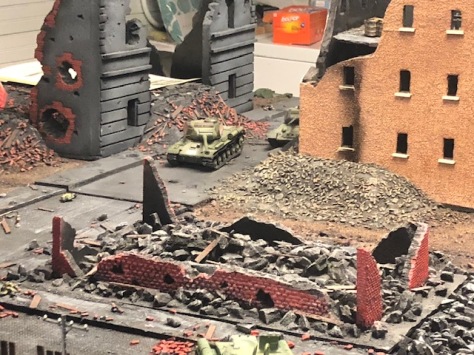
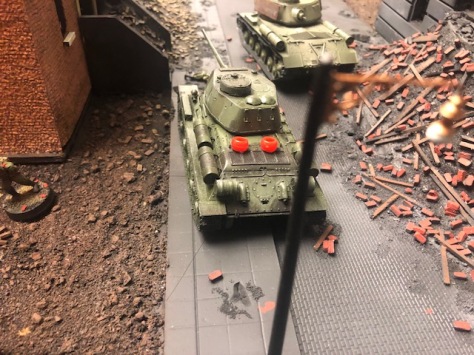
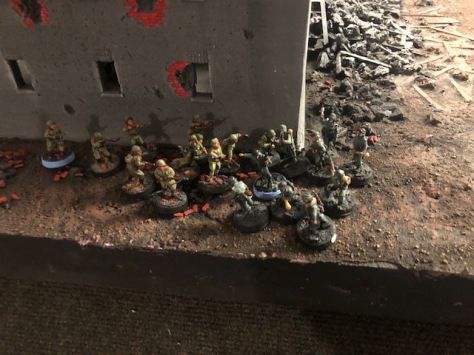
Vicious close assault melee ensues. This is going to be bloody.

IMG_2558

The Germans kill 5 Russians, but lose 7 dead in the attack. With three points of shock and most of their squad gone, the surviving Germans stumble back to seek cover in the rubble. The German position in the north is in serious trouble.

IMG_2556
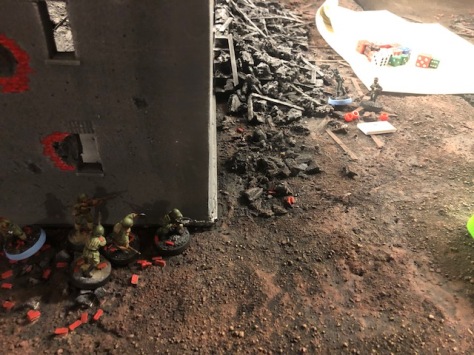
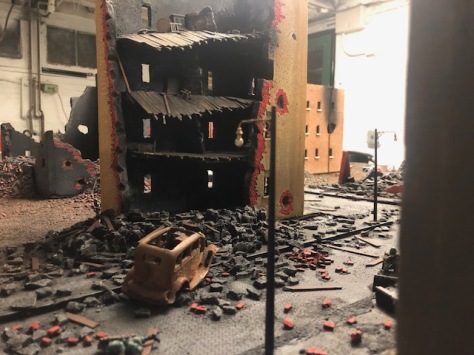
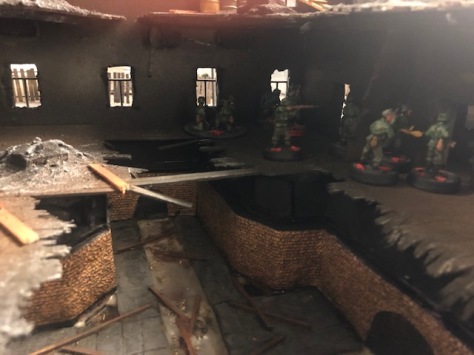
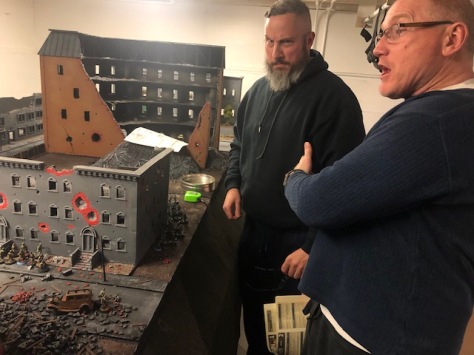
Steve is a bit perturbed by these developments.

IMG_2560
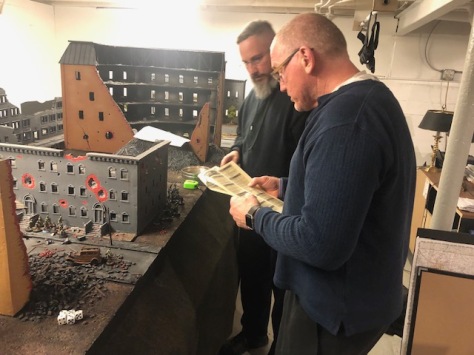
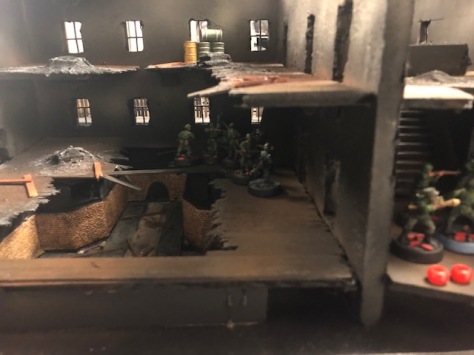
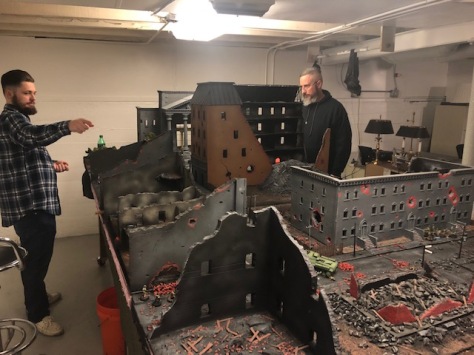
The German team hastily confers to see how the situation can be saved.

IMG_2561

It is decided Gunnar will move the Panther up to engage the Soviet armor. Destroying a Russian tank would help to stabilize the situation for the Germans.

IMG_2569

Gunnar zeroes in on his quarry, the T-34/85 in the distance.

IMG_2570

Not a comforting sight for any Allied soldier.

IMG_2572

The Panther shell crashes into the T-34!

IMG_2573

The 75mm shell knocks out the bow MG and inflicts two points of shock. The Russian tank is not out of action, but the crew is shaky.

IMG_2563

Meanwhile on the southern edge of the board, the third squad has deployed to reinforce the SS troops in the apartment building that had been battered by the JS-2. The MG -42 covers the street outside. Don’t fall into the sewer boys!

IMG_2552

It may have been better to direct these troops to the north edge, will this be a fatal mistake for the Germans?

IMG_2537
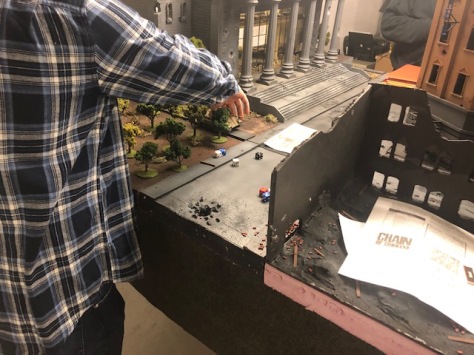
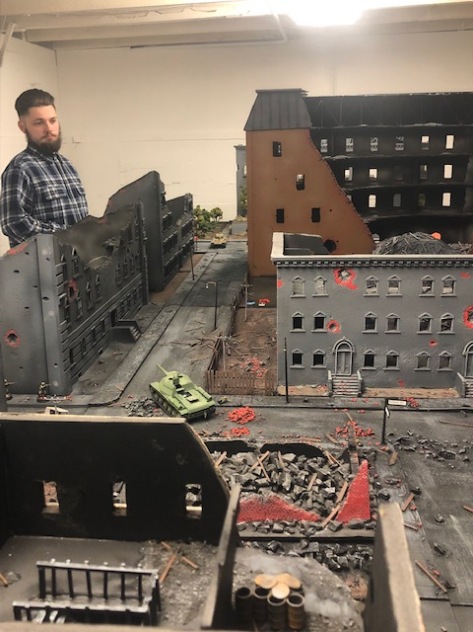
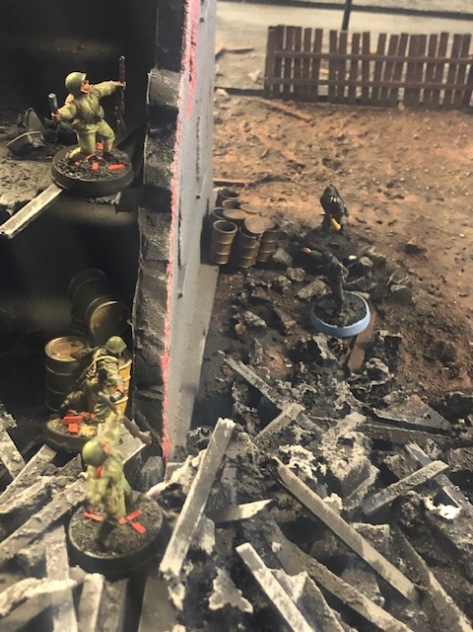
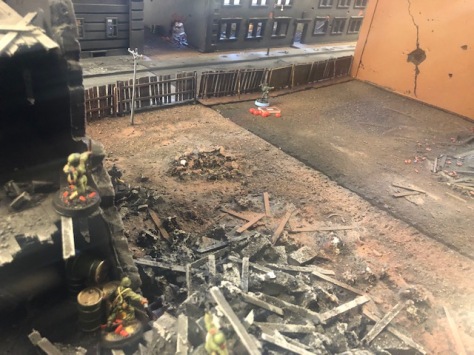
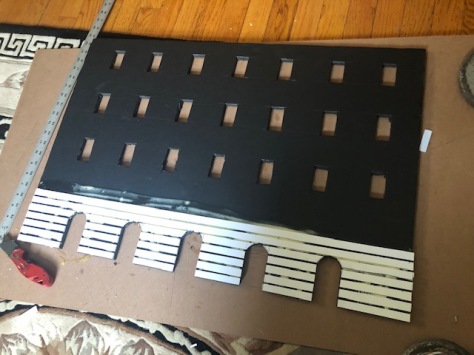
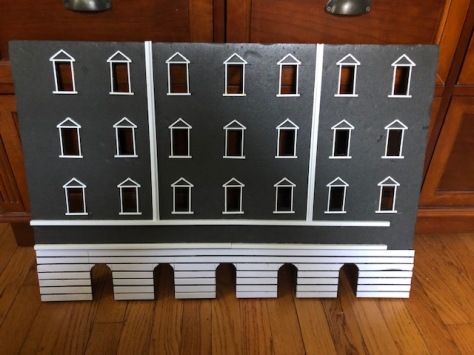
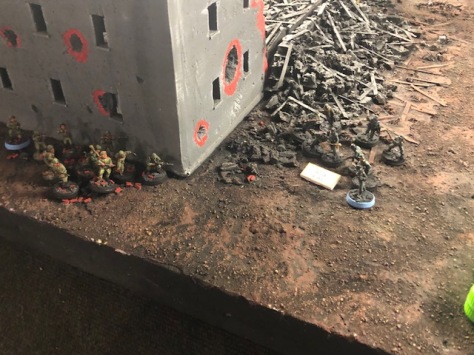
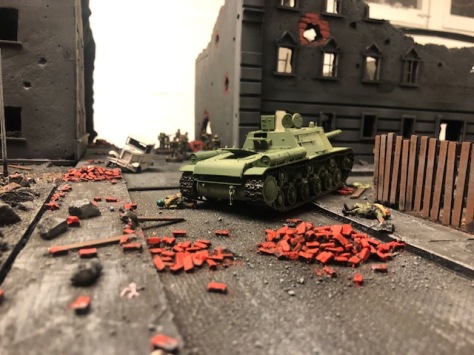
Russian squad still awaiting activation to storm the apartment building.


IMG_2554

Russian flamethrower team moves up on the north edge to help press the attack on the surviving Volksgrenadiers.

IMG_2544

This is really going to hurt nearby property valuations.

IMG_2583

The Russians launch a grenade attack to try to eliminate the remaining Germans from the Volksgrenadier squad and capture the last jump off point.

IMG_2584

The last survivor from the squad, the junior leader, is cut down before he can get over the fence. The German defenses on the southern edge have melted away.

IMG_2587

Killing fascists is hard work, time to get some shuteye

IMG_2585

And maybe a bathroom break. Reminds me of the nearby gas station bathroom

The loss of morale and command dice are the death knell for the Germans. The two remaining squads withdraw back to the west before they can be outflanked and cut off. The Panther and Tiger prudently decide to pull back until additional infantry arrive to provide support.

Next Friday we’ll begin a new game, with the Russians starting their patrol phase from their current positions, and a fresh German platoon arriving to attempt to hold the government building. We’re still learning the rules and have definitely made a few mistakes, but the game is tremendous fun. Prepare for battle!


Hotel Steinplatz build Part. 1

I wanted to build a fairly sizable building to sit opposite the government building on my Berlin board, so I decided on a hotel structure. There was (and is) a real hotel in Berlin called the Steinplatz, but of course mine looks nothing like it. I began with the largest street facing wall, cutting out windows and doors, as well as adding exterior cladding.

IMG_2073

The white strips are cut from PVC foam board sheets. I purchased them from Amazon, the brand name is Sibe-R-Plastic supply, though there are many other manufacturers. They are glued down to paper backed foam board, obtained from Hobby Lobby. I peel off the paper so I can imprint brick patterns, shell holes, etc. The weights help to minimize warping.

IMG_2074

IMG_2077

Here I have added plastic styrene rods, in varying sizes and shapes to provide architectural detail, and also to bracket where the hotel sign will go.

IMG_2083

Angled wall joined to original piece, and placed on a thinner foam board that is the same thickness as the eventual sidewalk it will be placed next to.

IMG_2084

I used hex head screws with a fairly coarse thread to firmly wed the pieces together until the wood glue is dry. 24 hours is usually enough to ensure a solid seam.

IMG_2086

The three street side pieces are now joined together. Two 28mm figures shown for scale.

IMG_2107

Sign that will go on the Main Street side. Letters are from Hobby Lobby.

IMG_2109

All exterior cladding now done, on to the roof!

IMG_2110

I decided to do a mansard roof, as I think it is a very cool look and appropriate to the era.

IMG_2115

Supports are styrene plastic rods, purchased from a local hobby shop.

IMG_2116

IMG_2123

Supports complete.

IMG_2124

Facing complete, all styrene sheets. Getting the angles right was a bit tricky.

IMG_2137

Standing seams complete

IMG_2138

Part 2, the interior!